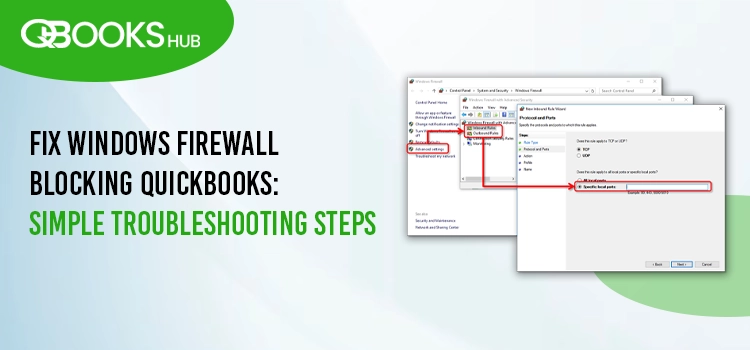
If you’re encountering issues with Windows Firewall blocking QuickBooks, it’s likely preventing QuickBooks from functioning properly. A properly configured firewall is essential for QuickBooks to communicate with servers and perform tasks like updating or processing transactions. Fortunately, fixing this is straightforward. Follow these steps to allow QuickBooks through the Windows Firewall and avoid interruptions to your work.
Step 1: Open Windows Firewall Settings
The first step in resolving the Windows Firewall is Blocking QuickBooks issue is to access your firewall settings.
- Action Step: Press the Windows Key + R to open the Run dialog.
- Type “Control Panel” and press Enter.
- Navigate to System and Security > Windows Defender Firewall.
Step 2: Allow an App Through the Firewall
Once you’re in the Windows Firewall settings, you can adjust the rules to allow QuickBooks to communicate with the internet.
- Action Step: On the left side, click “Allow an app or feature through Windows Defender Firewall.”
- Click the Change settings button to allow modifications.
Step 3: Find QuickBooks in the List of Apps
Now, you need to check if QuickBooks is listed as an allowed app.
- Action Step: Scroll through the list of apps to find QuickBooks or any related programs (e.g., QuickBooks Database Server Manager or QBDBMgrN).
- If you see QuickBooks listed, ensure both Private and Public boxes are checked.
- Solution: If QuickBooks isn’t in the list, proceed to the next step.
Step 4: Manually Add QuickBooks to the Firewall Exceptions List
If QuickBooks isn’t automatically listed, you can manually add it to the firewall exceptions list.
- Action Step: Click Allow another app.
- Browse your computer for the QuickBooks.exe file (usually located in **C:Program FilesIntuitQuickBooks**).
- Select it and click Add.
Step 5: Check the Ports QuickBooks Uses
QuickBooks requires certain ports to be open for smooth operation. If they’re blocked, it can cause connectivity issues.
- Action Step: Navigate to Advanced Settings on the firewall settings page.
- Select Inbound Rules and then click New Rule.
- Select Port, enter the required port numbers for QuickBooks, and allow the connection.
Common Ports for QuickBooks:
- TCP 8019
- TCP 56728
- TCP 55376-55377
Step 6: Test QuickBooks Connectivity
Once you’ve configured the firewall to allow QuickBooks, test if it functions correctly.
- Action Step: Open QuickBooks and perform tasks such as updating or connecting to the company file.
- If QuickBooks runs smoothly without any blocking messages, your firewall is properly configured.
Conclusion
If Windows Firewall is Blocking QuickBooks, following these steps will ensure that QuickBooks can function without interruptions. Configuring the firewall to allow QuickBooks access is a simple process that ensures smooth operation. If you’re still facing issues or need further assistance, don’t hesitate to contact QuickBooks support at +1(844) 580-0110 for expert help. With these configurations, your QuickBooks should now run without any firewall-related disruptions!
This post was created with our nice and easy submission form. Create your post!


